Car Battery Charger vs Battery Maintainer: What Should a UAE Workshop Use?

car battery charger vs battery maintainer

Choose the Right Battery Support Equipment for Your Workshop

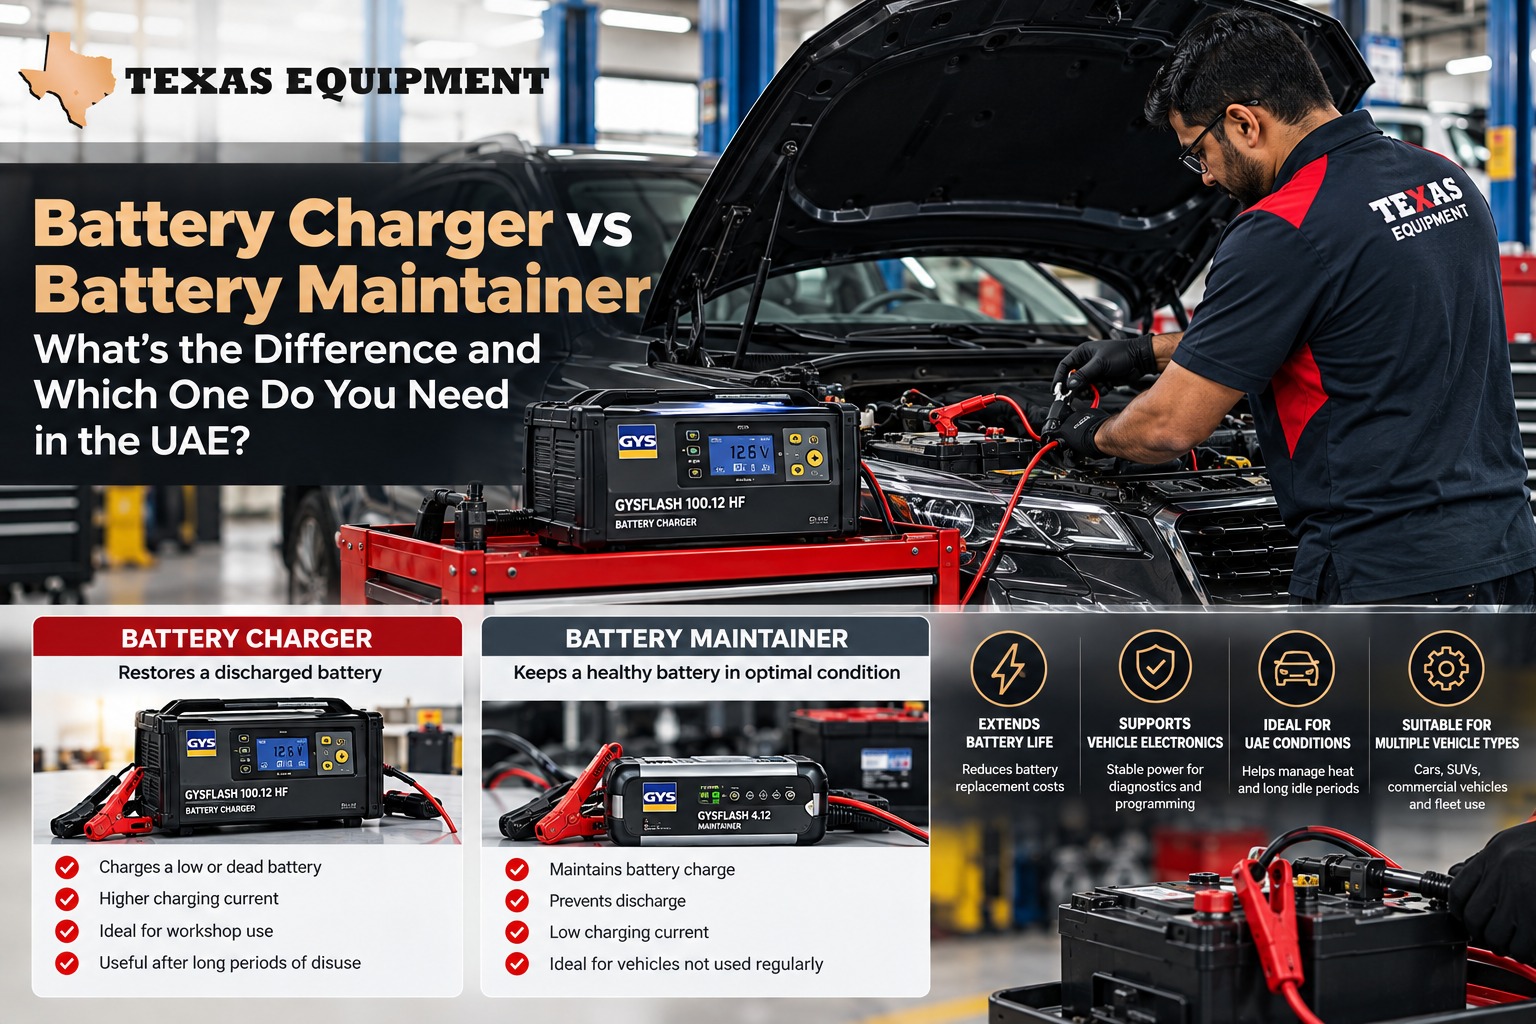
Choosing between a car battery charger and a battery maintainer depends on what your workshop needs to do. A charger is primarily designed to restore a compatible battery’s charge, while a maintainer helps keep a battery at an appropriate charge level over time. Some professional units combine charging, maintenance and controlled power-supply functions.

For automotive workshops in Dubai, Sharjah, Abu Dhabi and across the UAE, the right equipment depends on the vehicles serviced, battery technologies encountered and whether the task involves routine charging, long-term storage, diagnostics or programming.

Need to choose quickly? Start by identifying the main task, then confirm battery compatibility and the equipment’s supported operating modes before purchasing.

Find the Right Solution for Your Workshop

For restoring a discharged battery

A compatible battery charger is the starting point when the main requirement is to replenish a battery’s charge. Select a model with the correct voltage, battery chemistry support and charging profile.

Explore battery chargers from Texas Equipment to review relevant workshop charging options.

For vehicles that remain parked

A battery maintainer is useful when vehicles spend extended periods without regular use. Examples include vehicles waiting for parts, stored vehicles and cars undergoing lengthy service work.

Explore battery maintainers and stabilisers for workshop battery-support applications.

For diagnostics and programming

Some vehicle diagnostic and programming procedures require controlled electrical support. Not every ordinary charger is designed for this purpose. Check the vehicle manufacturer’s service procedure and the requirements of the diagnostic equipment before selecting a suitable power-support unit.

Charger vs Maintainer: What Is the Difference?

Workshop Requirement Battery Charger Battery Maintainer
Restoring charge Primary function Depends on the model
Long-term charge support Depends on the model and operating mode Primary application
Vehicles in storage Suitable models may support this use Common application
Battery chemistry compatibility Must be checked Must be checked
Diagnostics or programming Only when specifically suitable Only when the unit supports the required function

The product name alone does not confirm every available function. Always consult the manufacturer’s specifications for the specific model.

Why Battery Compatibility Matters

Battery voltage is only one part of the selection process. The battery’s chemistry and the manufacturer’s charging requirements also matter.

Depending on the vehicles they service, workshops may encounter conventional lead-acid, AGM, EFB and lithium-based batteries. These technologies may require different charging profiles, so a charger or maintainer should explicitly support the battery type being serviced.

Before purchasing, confirm:

  • Voltage: Does the unit support the battery system being serviced?
  • Battery chemistry: Is the required battery type listed as compatible?
  • Charging profile: Does the unit provide the appropriate charging mode?
  • Output: Is its output suitable for the intended application?
  • Operating modes: Does it support charging, maintenance or controlled power supply as required?

When Does a Professional Workshop Need More Than a Basic Charger?

A basic charger may be sufficient for routine charging when its specifications match the battery and task. A workshop with broader electrical service requirements may need a unit with additional operating modes.

For example, vehicles undergoing diagnostics or programming may require stable electrical support throughout a procedure. In that situation, selecting equipment solely by maximum amperage can be misleading. The correct output and operating mode depend on the vehicle manufacturer’s procedure and the equipment being used.

Review the intended applications, supported battery types and technical specifications before deciding whether a professional charger, maintainer or power-support unit is appropriate.

Browse the Texas Equipment battery charger and booster range to explore available battery-service equipment.

Battery Charging: Essential Safety Considerations

Battery charging should always follow the battery and charger manufacturers’ instructions. Incorrect connections, incompatible charging modes or unsuitable operating conditions can create safety risks.

  • Confirm polarity and connections before starting.
  • Use equipment compatible with the battery’s voltage and chemistry.
  • Follow the manufacturer’s ventilation and ignition-source precautions.
  • Inspect cables, connectors and the battery’s physical condition.
  • Use the correct charging mode for the application.
  • Stop and follow the manufacturer’s safety guidance if the battery becomes excessively hot, leaks or shows other abnormal conditions.

Explore Texas Equipment Battery Support Options

The right product depends on whether your workshop needs routine charging, ongoing battery maintenance or specialised electrical support.

Battery chargers

Review options intended to replenish compatible batteries for routine workshop service.

View battery charger options

Battery maintainers and stabilisers

Explore equipment intended for battery maintenance and other supported battery-care applications.

View maintainer and stabiliser options

Professional battery maintenance equipment

Texas Equipment lists the SPS-120-M battery maintainer as one of its product options. Review the product details and manufacturer specifications to confirm whether its functions match your intended application.

View the SPS-120-M battery maintainer

Frequently Asked Questions

What is the main difference between a car battery charger and a maintainer?

A charger primarily restores a compatible battery’s charge. A maintainer is intended to keep a battery at an appropriate charge level over time. Some models offer both functions.

Can a battery maintainer charge a flat battery?

Some maintainers include charging functionality, while others are designed mainly to maintain charge. Check the specific model’s operating instructions before use.

Can any battery charger be used during ECU programming?

No. The equipment must be suitable for the vehicle and the programming procedure. Confirm the required electrical support and operating mode before connecting a unit.

Does battery chemistry matter when selecting a charger?

Yes. The charger or maintainer must support the battery chemistry and charging profile specified for the application.

What should a professional workshop consider before buying?

Evaluate voltage, battery compatibility, output, operating modes, intended applications, safety features and technical support. Choose according to the actual services performed.

Make the Right Battery Equipment Decision

A car battery charger and a battery maintainer solve related but different problems. A charger is primarily used to restore charge, while a maintainer is useful for vehicles that need ongoing charge support. Workshops performing diagnostics or programming should separately verify whether their procedures require a suitable professional power-support unit.

Before purchasing, confirm battery compatibility, required output and the functions supported by the specific model. Explore the Texas Equipment battery charger and booster range to identify options relevant to your workshop’s requirements.
Transmission Jack vs Floor Jack: Which One Does Your Workshop Actually Need?

Transmission Jack Guide in a Modern Workshop


Transmission Jack or Floor Jack? Compare Their Workshop Applications

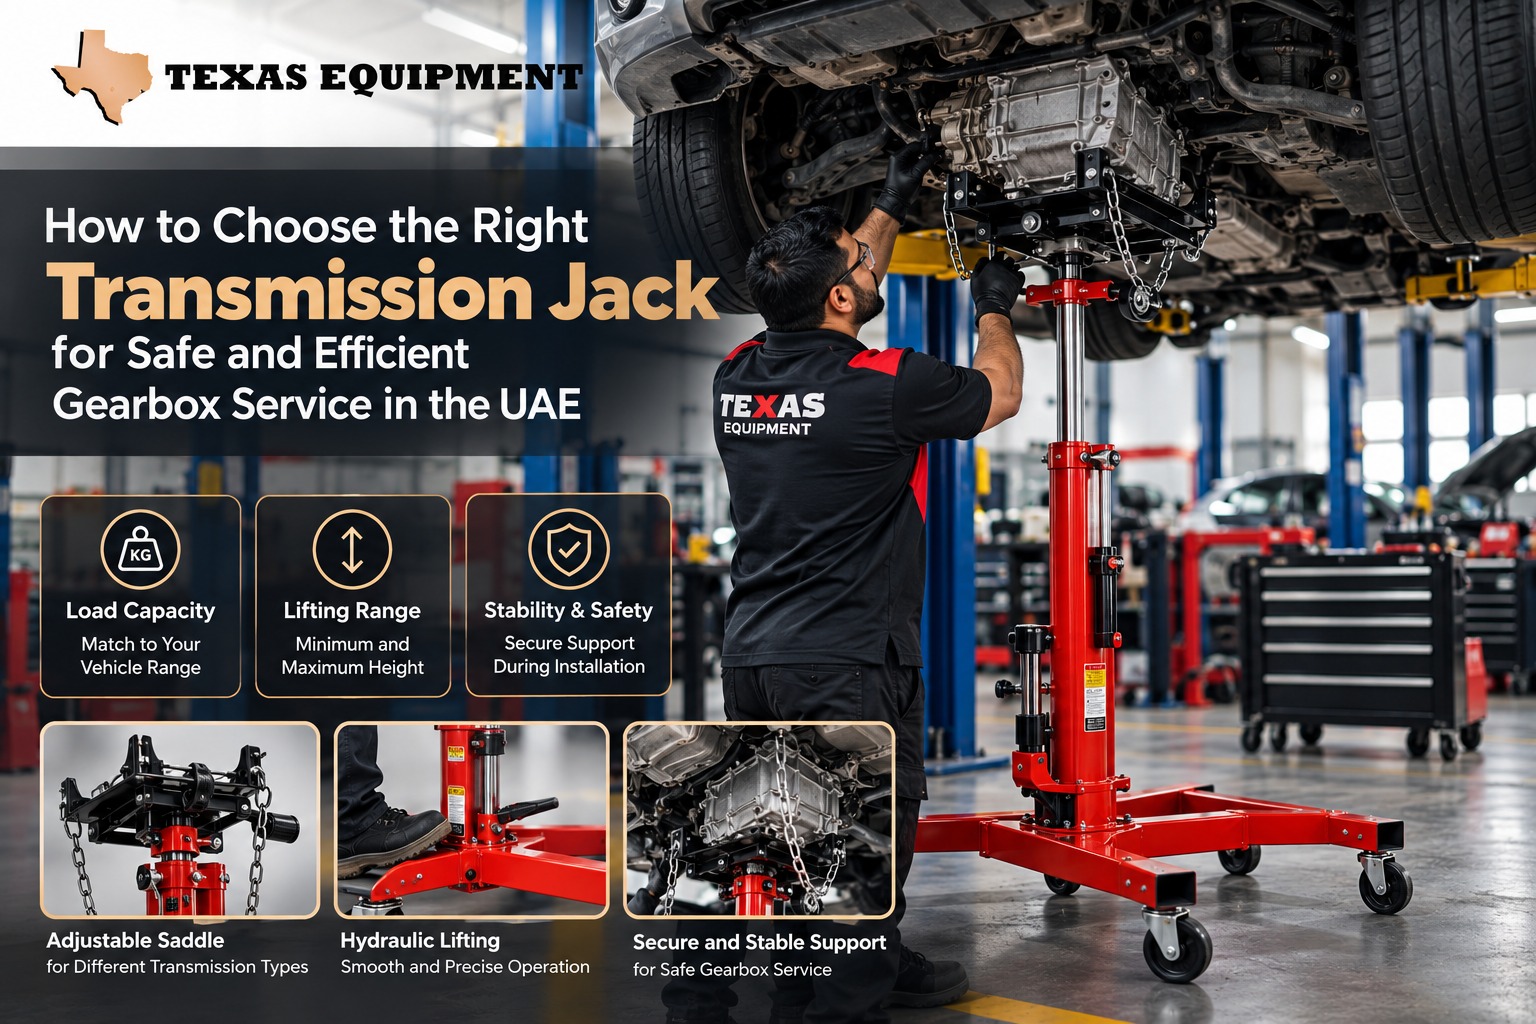
A floor jack and a transmission jack both use hydraulic lifting mechanisms, but they are designed for different workshop tasks. A floor jack is primarily used to raise a vehicle, while a transmission jack is designed to support, lower and position a transmission during removal or installation.

For automotive workshops in Dubai, Sharjah, Abu Dhabi and across the UAE, the right choice depends on the services performed, the loads being handled and the level of positioning control required. Understanding these differences helps workshops select equipment that matches their actual workload.

At a Glance: Transmission Jack vs Floor Jack

Comparison Floor Jack Transmission Jack
Primary purpose General vehicle lifting Transmission support and positioning
Typical applications Tyre, brake and suspension service Transmission removal and installation
Contact surface General lifting saddle Dedicated tray or support platform, depending on model
Positioning requirements Vehicle lifting from an approved lifting point Controlled positioning of a drivetrain component
Important specifications Capacity, minimum height, maximum height and saddle design Capacity, lifting range, tray adjustment and base dimensions
Best suited to Routine vehicle service Workshops performing transmission-related repairs

Which Jack Does Your Workshop Need?

Start with the work your technicians perform most frequently. The following decision guide can help identify which equipment is relevant to your workshop.

Choose a floor jack for general vehicle service

A floor jack is a practical option when technicians need to raise an appropriate portion of a vehicle for routine service work. Common applications include tyre changes, brake repairs, suspension work and under-vehicle inspections.

Before selecting one, check the vehicle’s approved lifting points, the jack’s rated capacity, minimum height, maximum height and clearance beneath the vehicle. Low-profile models may be useful where ground clearance is limited, provided the equipment is suitable for the application.

Explore the Texas Equipment trolley jack and stand category to review available vehicle-lifting options.

Choose a transmission jack for drivetrain work

A dedicated transmission jack is designed to support and position a transmission during removal and installation. Its support tray or platform is intended for component handling rather than general vehicle lifting.

When selecting one, consider the transmission’s weight and shape, the required working height, tray dimensions, adjustment range, base footprint and the manufacturer’s rated capacity. The jack must also fit the available space beneath the raised vehicle.

Review the Texas Equipment transmission jack range to compare dedicated options for transmission-service work.

Why a Floor Jack Is Not a Direct Substitute for a Transmission Jack

A transmission is not simply a load that needs to be lifted vertically. Its shape, mounting points and centre of gravity can make controlled support and alignment important during removal and installation.

A general floor jack normally has a lifting saddle intended for vehicle lifting points. A transmission jack typically uses a platform or tray designed to support the component and, on suitable models, allow adjustment for positioning.

Using a tool outside its intended application can introduce avoidable handling risks. Follow the vehicle manufacturer’s service procedure and the lifting equipment manufacturer’s instructions. Select equipment specifically suited to the load and task.

Specifications to Compare Before Buying

Capacity is important, but it should not be the only deciding factor. The required lifting range, working clearance and support configuration can determine whether a jack is practical for a particular job.

For a floor jack

  • Rated capacity: Confirm that the jack is suitable for the intended lifting task.
  • Minimum height: Check whether it can fit beneath the vehicle at the designated lifting point.
  • Maximum height: Confirm that it can reach the required working height.
  • Saddle design: Ensure the contact surface is appropriate for the vehicle’s approved lifting point.
  • Mobility: Consider the floor surface, caster arrangement and access around the vehicle.

For a transmission jack

  • Rated capacity: Check the intended transmission load against the manufacturer’s rating.
  • Lifting range: Confirm that the minimum and maximum heights suit the service procedure.
  • Tray dimensions: Evaluate whether the support platform suits the component being handled.
  • Adjustment: Check the available tray-tilt and positioning adjustments, if provided.
  • Base footprint: Ensure the jack can fit and manoeuvre beneath the vehicle lift.
  • Component restraint: Check the manufacturer’s instructions for any required securing mechanism.

Example: Matching Equipment to the Workshop Task

Consider a workshop that handles routine tyre changes and brake servicing alongside occasional transmission replacement. Its equipment requirements are different for each activity.

  • Tyre and brake service: A suitable floor jack may be required to raise the vehicle at an approved lifting point.
  • Transmission removal: A dedicated transmission jack is designed for supporting and positioning the transmission during the relevant procedure.
  • Frequent work in both areas: The workshop may need both tools because they perform different functions.

The final selection should be based on the workshop’s actual workload, vehicle types, service procedures and equipment specifications. Not every workshop needs both types of jack.

Lifting Equipment Safety: Important Distinctions

A jack’s rated capacity must not be exceeded, and the equipment must be used according to its operating instructions. Inspect the jack before use and remove defective equipment from service until it has been assessed and repaired appropriately.

Raising a vehicle is not the same as securely supporting it for work underneath. Use suitable vehicle support equipment and follow the vehicle manufacturer’s approved lifting and support procedure. For transmission work, make sure the component is appropriately supported and secured throughout the operation.

The US Occupational Safety and Health Administration’s guidance on jacks covers rated capacity, operation, inspection and maintenance. This is a US safety reference, not UAE legislation; workshops should also follow applicable local requirements and manufacturer instructions.

Common Equipment Selection Mistakes

Comparing only the capacity rating

Two jacks with similar capacity ratings may differ in minimum height, maximum height, support surface and suitability for the intended task.

Ignoring clearance

A floor jack must fit beneath the intended vehicle, while a transmission jack must fit into the working area beneath the raised vehicle and reach the required component position.

Using general lifting equipment for specialised work

Do not assume that a floor jack is an appropriate substitute for a transmission jack. Match the support design and operating method to the task.

Overlooking inspection and serviceability

Hydraulic leaks, damaged wheels, worn components or other defects should be addressed before the equipment is used again. Follow the manufacturer’s maintenance schedule.

Frequently Asked Questions

Can I use a floor jack to remove a transmission?

A floor jack is not a direct substitute for a dedicated transmission jack. Use equipment and a procedure appropriate for supporting and positioning the transmission safely.

What is the main purpose of a transmission jack?

It is designed to support, raise, lower and position a transmission during removal and installation, subject to the model’s rated capacity and instructions.

What should I check when buying a transmission jack?

Check rated capacity, minimum and maximum lifting height, tray dimensions, adjustment range, base footprint, mobility and the manufacturer’s operating instructions.

Is a low-profile floor jack always the better option?

No. A low-profile jack can help where vehicle clearance is limited, but capacity, lifting range and suitability for the vehicle remain essential considerations.

Does every automotive workshop need both types of jack?

No. A workshop that performs general vehicle servicing may primarily need a suitable floor jack. One that regularly removes and installs transmissions may also need a dedicated transmission jack.

Conclusion: Select the Jack for the Job

A floor jack and a transmission jack are designed for different workshop requirements. A floor jack supports general vehicle-lifting tasks, while a transmission jack is intended for handling and positioning transmissions during drivetrain repairs.

Before purchasing, compare the intended application, rated capacity, lifting range, support configuration, available clearance and maintenance requirements. Texas Equipment supplies workshop lifting equipment for automotive businesses in the UAE. Explore the transmission jack range and trolley jack and stand category to review options for your workshop.

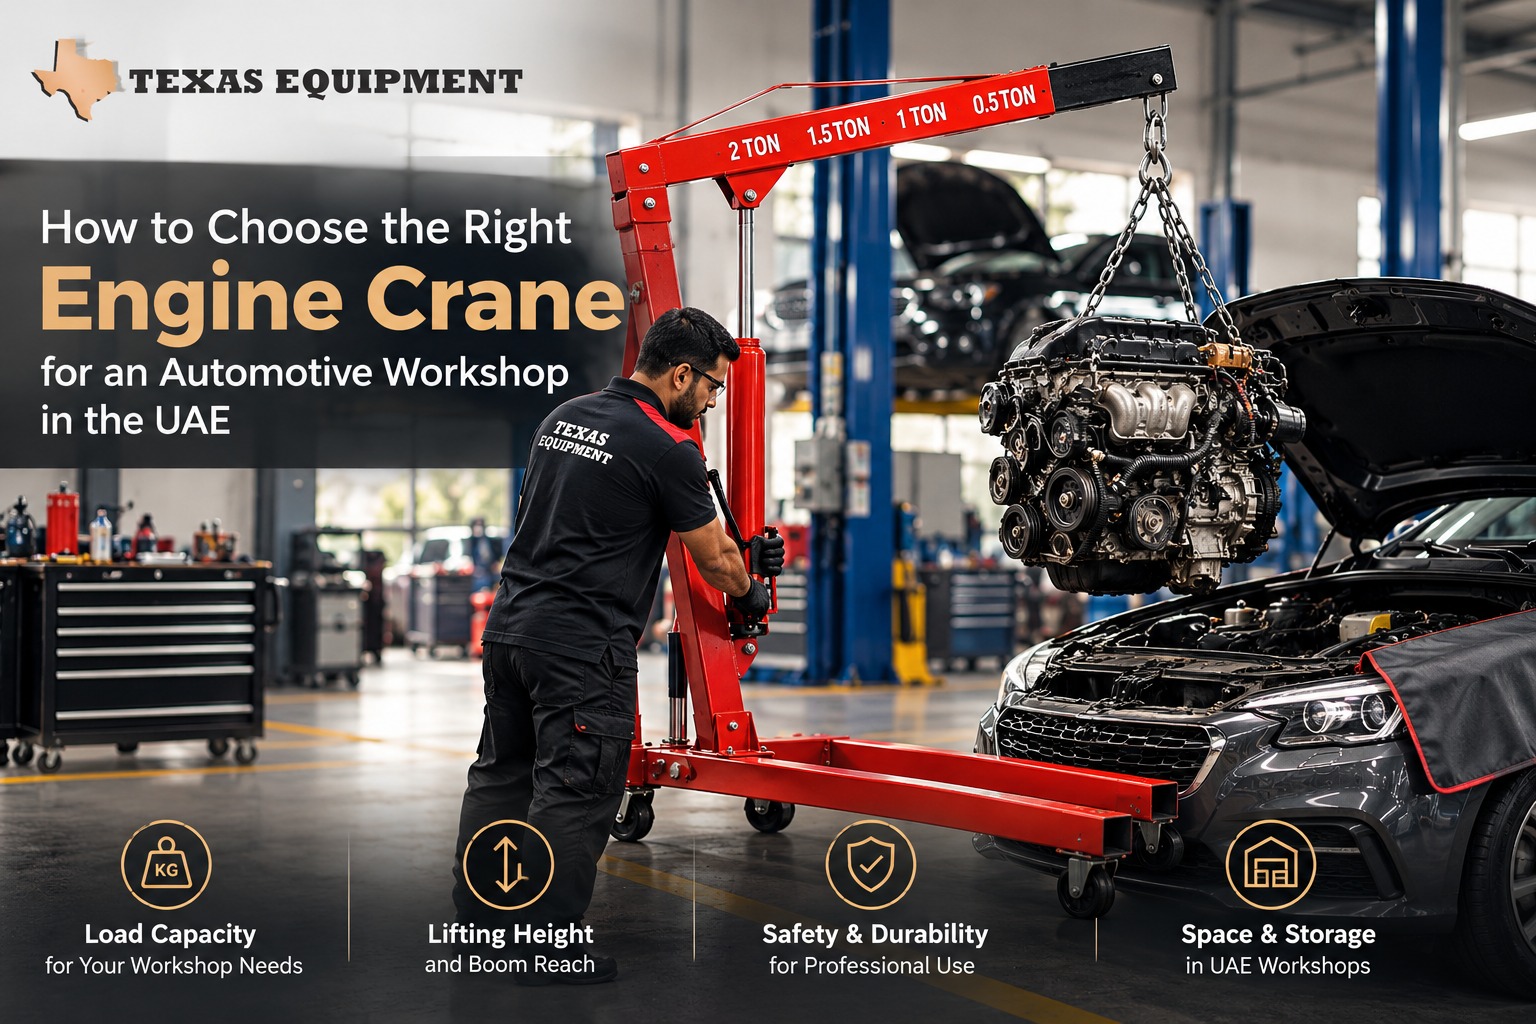
How to Choose the Right Engine Crane for an Automotive Workshop in the UAE

Choosing the Right Engine Crane for UAE Workshops
Engine Crane Selection: A Practical Guide for UAE Workshops

An engine crane is an essential lifting solution for automotive workshops that regularly remove, install or position engines and other heavy components. Choosing the right model, however, requires more than checking the maximum capacity printed on the product.

The crane must suit the loads being handled, required lifting height, boom reach, available floor space and the workshop’s daily workflow. This guide explains what automotive workshops in Dubai, Sharjah, Abu Dhabi and across the UAE should evaluate before purchasing an engine crane.

What Is an Engine Crane?

An engine crane, also known as an engine hoist, is a mobile lifting device used to raise and position engines and other suitable heavy automotive components. Unlike a vehicle lift, which raises a vehicle, an engine crane is designed to handle a component during removal, installation or repair.

Common applications include engine removal, engine replacement and positioning heavy components during mechanical repair. The equipment must always be used within its manufacturer’s rated capacity and operating instructions.

1. Choose the Correct Lifting Capacity

Capacity is one of the first specifications to evaluate. Start by identifying the vehicles and components your workshop typically handles, including passenger cars, SUVs and light commercial vehicles.

Do not assume that an engine crane can lift its maximum advertised load in every boom position. On many models, the permitted capacity changes as the boom extends. Always consult the manufacturer’s load chart for the intended configuration.

The right approach is to identify the heaviest intended application and select a crane with an appropriate rated capacity. Choosing equipment solely because it has a higher headline capacity may increase cost and take up more space without improving suitability for your workshop.

2. Check Boom Reach and Lifting Height

A crane can have sufficient capacity but still be unsuitable if it cannot reach the required position. Check the minimum and maximum lifting height, horizontal reach and available boom positions before making a decision.

Consider the complete engine-removal process. The crane must be positioned correctly over the engine bay, lift the component to the necessary height and allow it to be moved clear of the vehicle.

Workshop columns, walls, doors and neighbouring equipment can restrict movement. Measure the service bay and access routes before purchasing so that the crane can be positioned and operated comfortably.

3. Evaluate Mobility and Workshop Space

Engine cranes are often moved between service bays and vehicles. Their footprint, caster arrangement, turning space and compatibility with the workshop floor therefore matter.

Before choosing a model, check:

  • The available space around the vehicle being serviced.
  • The route between the storage area and the service bay.
  • The clearance required to position the crane over the engine bay.
  • The turning space needed to move the crane safely.
  • The storage space available when the equipment is not in use.

A crane that fits beside a vehicle but cannot be manoeuvred into the correct lifting position may interrupt the workshop’s workflow.

4. Assess Construction, Stability and Maintenance

Review the crane’s frame, base configuration, boom construction, hydraulic system and adjustment mechanisms. The complete specification and serviceability are more important than the finish or appearance alone.

Inspect the equipment according to the manufacturer’s instructions. Hydraulic leaks, structural damage, damaged wheels or malfunctioning mechanisms should be addressed before the crane is returned to service.

Also consider the availability of technical support, replacement parts and maintenance assistance. These factors can affect the equipment’s long-term usefulness in a professional workshop.

Engine Crane vs Engine Stand: What Is the Difference?

An engine crane and an engine stand serve different purposes. A crane lifts and positions an engine, while a stand supports a removed engine during suitable inspection, repair or rebuilding work.

Workshops that regularly perform engine replacement or rebuilding may benefit from having both types of equipment. Explore the engine crane, stand and holder range from Texas Equipment to review relevant workshop equipment options.

Common Engine Crane Buying Mistakes

Choosing by capacity alone

A higher capacity does not automatically make a crane the best choice. Reach, lifting height, footprint and the intended application also matter.

Ignoring the boom-position load rating

Check the manufacturer’s load chart for the exact boom configuration you expect to use.

Forgetting storage and access

Measure the working bay, doorways, turning areas and storage location before selecting the equipment.

Overlooking inspection and maintenance

Hydraulic and mechanical lifting equipment requires inspection and maintenance in line with the manufacturer’s instructions.

Engine Crane Selection Checklist

Requirement What to Check
Lifting capacity Heaviest intended load and rated capacity for the required boom position.
Boom reach Permitted boom configurations and horizontal reach.
Lifting height Required height for engine removal and installation.
Mobility Caster arrangement, floor condition and turning space.
Footprint Available service-bay and storage space.
Construction Frame, boom, hydraulic system and adjustment mechanisms.
Maintenance Inspection requirements, serviceability and parts support.
Application Types of engines and other components the crane is intended to handle.

UAE Workshop Considerations: Equipment and Maintenance

UAE legislation includes a framework for conformity requirements applicable to vehicle repair workshops and service centres. The framework addresses the suitability of equipment for the services provided and includes provisions concerning preventive maintenance and the calibration of relevant measuring instruments.

This should not be interpreted as prescribing one specific engine crane capacity or model for every workshop. Instead, workshops should select equipment appropriate to their services and follow the manufacturer’s operating, inspection and maintenance instructions.

Read the official UAE legislation on vehicle repair workshop and service-centre requirements for the applicable regulatory context.

Frequently Asked Questions

What capacity engine crane should a workshop buy?

Choose capacity according to the heaviest intended load and the manufacturer’s rated capacity for the required boom position. Do not select equipment based only on its maximum advertised rating.

Can an engine crane lift components other than engines?

Some cranes can handle other suitable components, but only when the load, lifting method and attachments are permitted by the manufacturer’s instructions and capacity ratings.

Is an engine crane the same as an engine stand?

No. An engine crane lifts and positions the engine. An engine stand supports a removed engine for suitable workshop tasks.

What should I measure before buying an engine crane?

Measure the service bay, doorways, storage area and turning space. Also establish the required boom reach, lifting height and typical loads.

Does a higher-capacity engine crane always make a better purchase?

No. The best fit depends on the intended load, permitted boom positions, working dimensions, mobility and available storage space.

Final Considerations

The right engine crane is determined by your workshop’s workload, not capacity alone. Before purchasing, evaluate the intended loads, boom reach, lifting height, workshop clearance, mobility, construction and maintenance requirements.

Texas Equipment offers workshop equipment options for automotive service businesses across the UAE. Explore the engine crane and engine stand category to review relevant products and compare them with your workshop’s requirements.

How to Choose a Wheel Balancer for a UAE Tyre Shop: Key Specifications That Matter

Texas Wheel Balancer Workshop Guide


Wheel Balancer Selection: From Wheel Compatibility to Accurate Results

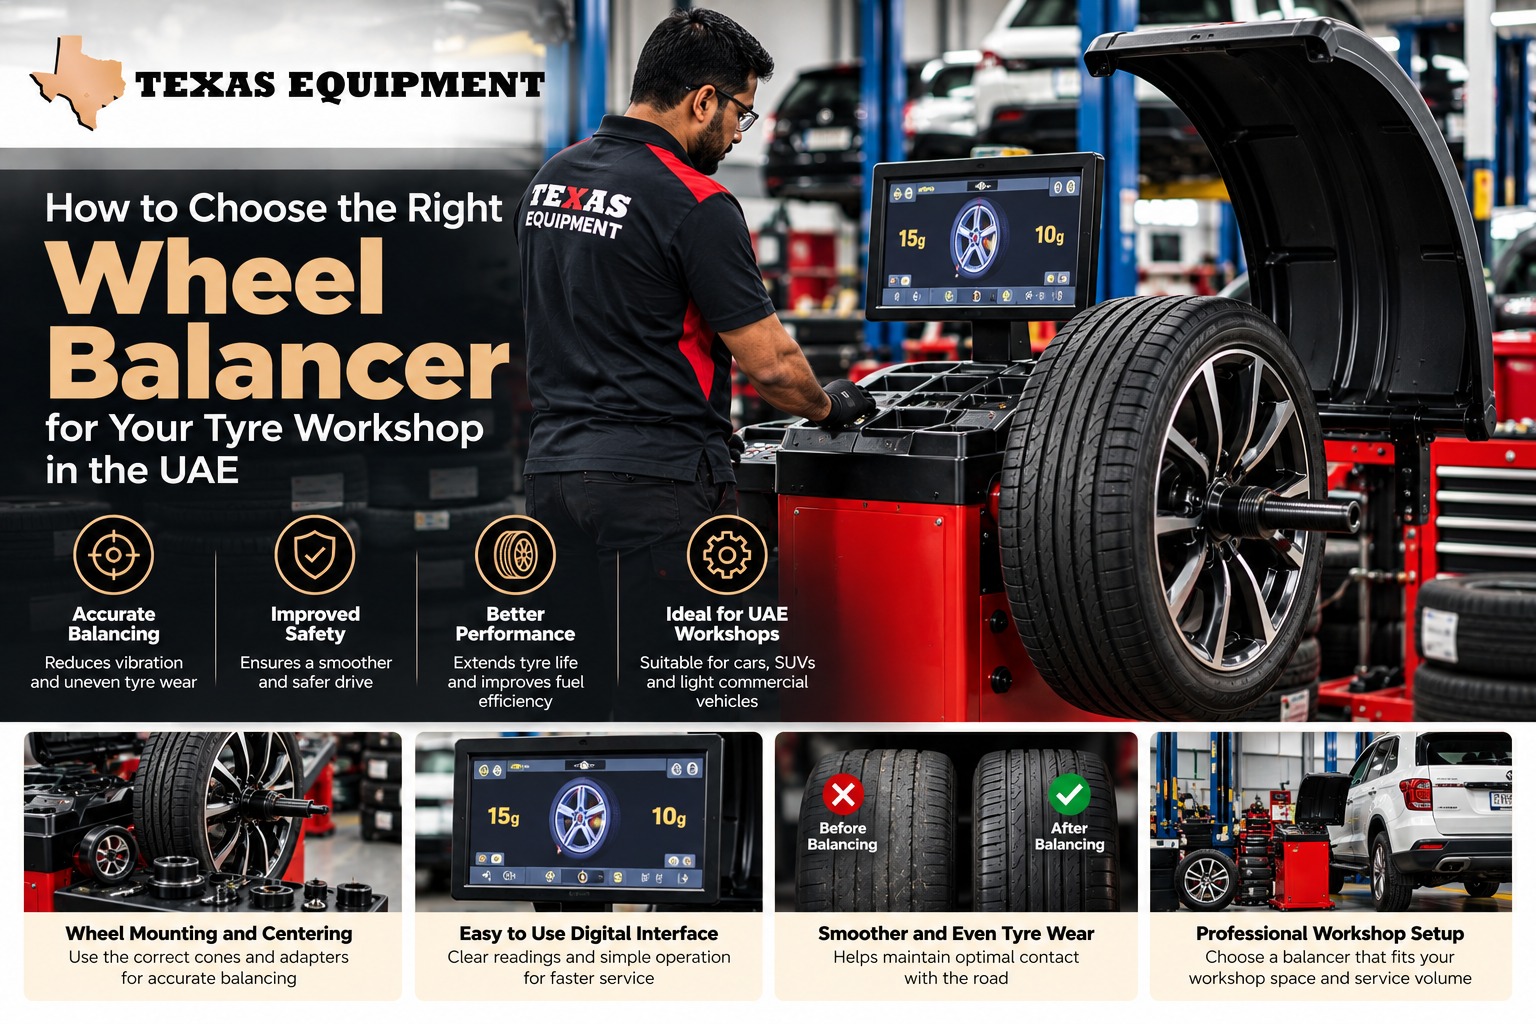
A wheel balancer is essential equipment for a professional tyre shop because it helps identify uneven mass distribution in a wheel and tyre assembly. Choosing the right machine involves more than comparing prices or digital displays. The machine must accommodate the wheels your business services, centre them correctly, measure imbalance reliably and support the balancing procedures your technicians use.

For tyre shops and automotive workshops in Dubai, Sharjah and Abu Dhabi, the right wheel balancer depends on the vehicle categories handled, wheel dimensions, assembly weight, centring accessories, measurement system and available balancing programmes. Understanding how these elements work together makes it easier to select equipment that suits your daily operations.

First, understand what the machine is measuring

A wheel and tyre assembly can have uneven mass distribution around its axis of rotation. When it spins, this imbalance can produce vibration that may be felt through the steering wheel, seat or vehicle body, depending on the conditions and location of the imbalance.

A wheel balancing machine measures the imbalance and indicates where corrective wheel weights should be placed. The technician follows the machine’s instructions to apply the appropriate correction, then checks the result according to the machine’s operating procedure.

Wheel balancing and wheel alignment are different services. Balancing addresses mass distribution in the rotating wheel and tyre assembly. Alignment concerns wheel angles and their relationship to the vehicle’s suspension and steering geometry. A workshop may offer both services, but each requires equipment designed for its specific task.

Follow the wheel through the balancing process

Stage 1: Identify the wheel before mounting it

The first selection question is whether the machine can physically accommodate the wheels that arrive at your shop. Consider the rim diameter, wheel width, overall assembly weight and the types of wheels you expect to service.

A shop focused on passenger cars may have different requirements from a commercial vehicle workshop that handles heavier wheel assemblies. If your business services both passenger vehicles and trucks, confirm whether the intended machine is suitable for each category. Do not assume that a standard passenger-car model can handle truck wheels.

Check the manufacturer’s stated operating range rather than relying on a product name or appearance. The maximum supported dimensions and weight should cover the wheels you actually intend to balance.

Stage 2: Centre the wheel accurately

Correct centring is fundamental to obtaining a useful measurement. The wheel must be mounted securely and positioned appropriately on the balancer’s shaft. If it is mounted off-centre or incorrectly, the measured result may not represent the wheel’s true imbalance.

Review the shaft arrangement, available cones, flanges, adapters and other centring accessories supplied or supported by the machine. The appropriate arrangement depends on the wheel’s centre bore and mounting design.

Before purchasing, consider the range of wheel designs handled by your technicians. Ask the supplier which accessories are included, which may need to be purchased separately and whether the proposed setup supports the wheel types common in your workshop.

Stage 3: Understand how imbalance is measured

Once the wheel is mounted, the machine rotates the assembly and measures imbalance. Depending on the model, the operator may enter wheel dimensions manually or use a supported measurement system to provide the required information.

Look at how the machine captures rim dimensions, how the readings are displayed and how clearly it communicates the correction required. An interface that technicians can understand and operate consistently is valuable during a busy workshop day.

Confirm the machine’s documented measurement capabilities and operating procedure with the supplier. Avoid choosing equipment based only on a large screen or claims about advanced technology without understanding the functions available on the specific model.

Stage 4: Select the correct balancing programme

Different wheel and rim designs can require different balancing approaches. Available programmes may support different correction methods, including configurations for alloy wheels and different wheel-weight placement requirements. The exact options vary by machine.

When reviewing a wheel balancer, establish which balancing modes it offers and whether those modes match the wheels serviced by your shop. If your technicians frequently work with alloy rims, confirm that the machine supports the correction methods required for those applications.

Also review how the machine guides the operator through weight placement. Clear instructions can help reduce confusion during setup and make the process more consistent across technicians.

Stage 5: Apply the correction and verify the result

After the machine identifies the required correction, the technician installs the appropriate wheel weights in the indicated positions. The assembly is then checked again using the machine’s prescribed procedure.

A final verification matters because the initial measurement alone does not confirm that the correction has been completed successfully. If the result remains outside the machine’s acceptable indication, the technician should review the mounting, entered dimensions, weight placement and wheel condition before repeating the measurement.

Consistent mounting and correct operation are therefore just as important as the balancer’s features. Staff should follow the manufacturer’s instructions for mounting, operation, calibration and maintenance.

Which machine features affect day-to-day workshop work?

Once wheel compatibility and the balancing process are understood, consider the features that affect how the machine fits into your service operation.

Measurement and display interface

The operator should be able to identify the readings, required corrections and selected programme without unnecessary confusion. Review the actual interface where possible and confirm that the instructions are clear enough for the technicians who will use the machine.

Balancing modes and wheel-weight options

Available modes should correspond to the wheel types and correction methods your workshop handles. Ask for a demonstration using a representative wheel, where practical, rather than relying solely on a list of features.

Operating cycle and workflow

Cycle time is only one part of productivity. Wheel loading, dimension entry, programme selection, weight application and rechecking also affect the total service process. Consider the complete workflow rather than assuming that a particular display or automatic function will, by itself, make the shop faster.

Guard, installation and available space

Review the machine’s physical dimensions, required working clearance, installation conditions and protective features. Confirm the electrical supply and any other installation requirements stated by the manufacturer before arranging the machine in the workshop.

Calibration, service and spare parts

Ask about the recommended calibration procedure, maintenance requirements, availability of relevant accessories and access to technical support. A machine’s long-term usefulness depends on proper setup and maintenance as well as its initial specifications.

Passenger-car balancer or heavy-duty truck balancer?

The correct category depends on the wheel assemblies your business intends to service. A passenger-car-focused tyre shop should verify the supported dimensions and weight of the selected machine against its regular workload. A commercial vehicle workshop must separately establish the requirements for its heavier and larger wheel assemblies.

Texas Equipment offers wheel balancing equipment for workshop applications, including general workshop models and a heavy-duty truck wheel balancer. Review the intended application and the manufacturer’s specifications before deciding which category is appropriate.

Explore the available wheel balancing machines at Texas Equipment to assess the options relevant to your workshop. For larger commercial vehicle wheels, confirm suitability with the supplier rather than assuming that every machine in the category supports truck applications.

Common selection mistakes that can affect results

  • Choosing by price alone: A lower purchase price does not establish whether the machine supports the wheels and balancing procedures your shop needs.
  • Ignoring centring accessories: Confirm the supplied cones, adapters and other mounting accessories against the wheel types you handle.
  • Assuming all wheel balancers support trucks: Check the stated dimensions and weight limits for the specific model.
  • Overlooking operator workflow: A feature-rich machine may still be unsuitable if its controls and operating process do not fit your technicians’ needs.
  • Neglecting installation and maintenance: Confirm site requirements, operating instructions, calibration and service arrangements before purchase.
  • Confusing balancing with alignment: A wheel balancer measures mass imbalance. It does not replace a wheel alignment machine.

Questions tyre shop owners should ask before ordering

Before finalising a purchase, ask the supplier to confirm the machine’s operating range, supported wheel categories, centring accessories, balancing programmes, measurement method, installation requirements and recommended maintenance procedure. Request the official specification sheet for the exact model under consideration.

It is also useful to describe the vehicles your shop services and the types of rims your technicians regularly encounter. This gives the supplier a clearer basis for recommending a suitable configuration without relying on assumptions about compatibility.

Frequently asked questions

What does a wheel balancer do?

A wheel balancer measures uneven mass distribution in a wheel and tyre assembly and indicates where corrective weights should be placed. The assembly is checked again after correction.

Is a wheel balancer the same as a wheel alignment machine?

No. A wheel balancer addresses mass imbalance in the rotating assembly. A wheel alignment machine measures wheel angles in relation to the vehicle’s alignment specifications.

Can one wheel balancer handle both passenger cars and trucks?

That depends on the specific model’s supported wheel dimensions, assembly weight and intended applications. Check the manufacturer’s specifications and confirm suitability with the supplier before purchase.

Why are centring accessories important?

Centring accessories help mount the wheel correctly on the balancer. Incorrect mounting can affect measurement results, so the accessories must suit the wheel’s mounting design.

Does a digital display guarantee accurate balancing?

No. The display is only one part of the system. Correct mounting, appropriate dimensions, the machine’s measurement capability, proper operation and maintenance all contribute to reliable results.

How often should a wheel balancer be calibrated?

Follow the maintenance and calibration instructions provided by the manufacturer for the specific machine. The required procedure and interval should be confirmed in its documentation rather than assumed to be identical for every model.

Choose equipment around the work your shop performs

The right wheel balancer should suit the wheel assemblies your technicians handle, support correct centring, provide the necessary balancing programmes and fit the workshop’s operating conditions. Evaluating the complete process, from mounting through final verification, gives you a more useful basis for choosing equipment than comparing price or display features alone.

To review suitable options, visit Texas Equipment’s tyre shop equipment range or explore its wheel balancer category. Confirm the relevant specifications and accessories for your intended application before placing an order.

How to Choose a Hydraulic Trolley Jack for a Professional Garage in the UAE

Hydraulic Trolley Jack Workshop Guide


Hydraulic Trolley Jacks: Matching the Right Model to Your Garage

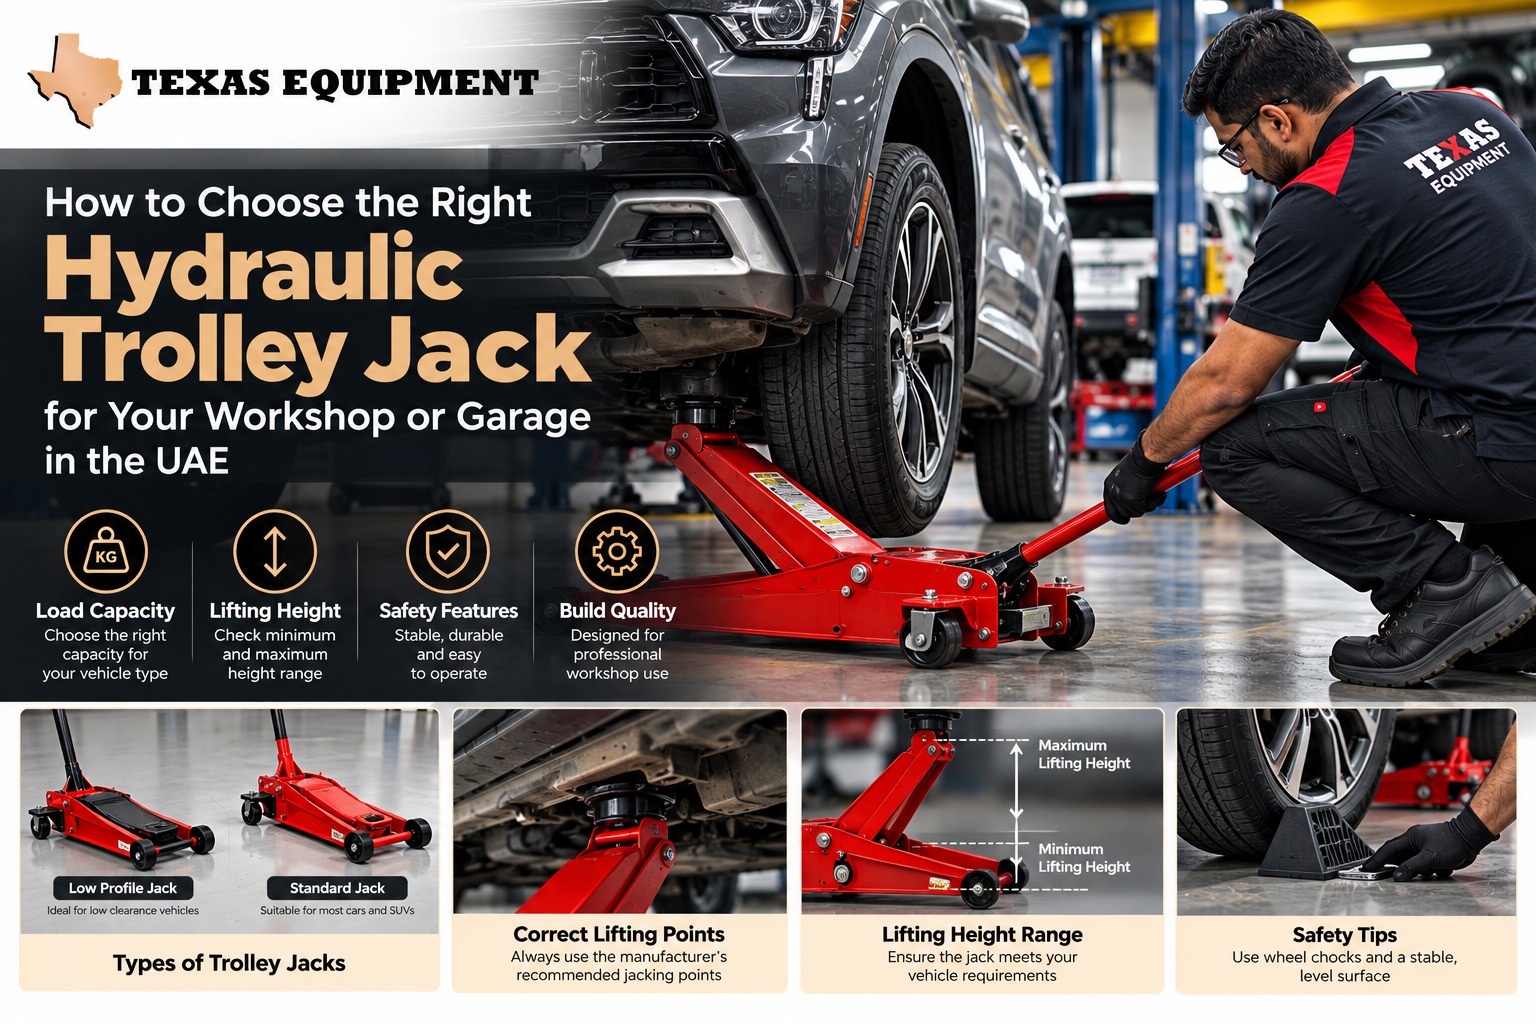
A hydraulic trolley jack helps automotive technicians raise a vehicle from an approved lifting point for service work. However, selecting the right model involves more than choosing a tonnage rating. The jack must fit beneath the vehicle, reach the required working height and suit the workshop’s floor, space and daily workload.

For garages and automotive workshops in Dubai, Sharjah, Abu Dhabi and across the UAE, the most useful starting point is the vehicle mix. A workshop servicing low-clearance passenger cars may need different equipment from one that mainly handles SUVs or other vehicles.

Start With the Vehicle, Not the Jack

Before comparing products, consider the vehicles that enter your workshop most often and the lifting tasks your technicians perform.

  • Low-clearance cars: Check whether the jack can fit beneath the vehicle at the manufacturer’s approved lifting point.
  • Passenger cars and SUVs: Match the rated capacity and lifting range to the intended application.
  • Frequent service work: Consider mobility, ease of positioning and the available working space.
  • Multiple service bays: Check whether the jack can move between bays and be stored without obstructing technicians.

Once the intended applications are clear, evaluate the jack’s capacity, minimum height, maximum height, saddle design and construction.

Will the Jack Fit Under the Vehicle?

Minimum height is a critical specification when working with vehicles that have limited ground clearance. If the jack cannot fit beneath the vehicle at the intended lifting point, its other features will not solve that problem.

Measure the clearance at the approved lifting point rather than relying only on the vehicle’s general ground clearance. Account for the shape and position of the lifting point and follow the vehicle manufacturer’s instructions.

When a low-profile design makes sense

A low-profile trolley jack can be useful for sports cars, low-clearance passenger vehicles and other applications where space beneath the vehicle is restricted. It is not automatically the best choice for every garage; capacity and the full lifting range must still meet the intended requirements.

Can It Reach the Required Lifting Height?

Minimum height tells you whether the jack can fit into position. Maximum height tells you how far it can raise the vehicle. Both specifications matter.

A model that fits beneath a vehicle may still be unsuitable if it cannot reach the required height for the intended task. Evaluate the complete lifting range and confirm that it matches the vehicle manufacturer’s approved lifting procedure.

Also consider saddle design and compatibility with the designated lifting point. The contact surface must be appropriate for the application and used according to the equipment manufacturer’s instructions.

Capacity: How Much Is Enough?

The jack’s rated capacity must be appropriate for the intended lifting application. Do not assume that the vehicle’s total weight is automatically the load applied at a single lifting point, and do not estimate capacity without considering the manufacturer’s specifications and approved lifting procedure.

A higher capacity rating alone does not make a jack more suitable. A larger model may have a different minimum height, footprint or lifting range. The goal is to find equipment that satisfies the load requirements and fits the physical conditions of the job.

Standard vs Low-Profile Trolley Jacks

Consideration Standard Trolley Jack Low-Profile Trolley Jack
Vehicle clearance Suitable when available clearance meets the model’s minimum height Designed for applications with more restricted clearance
Selection priority Capacity, lifting range and fit Minimum height, capacity and lifting range
Workshop suitability Depends on the vehicles and tasks handled Useful where low-clearance vehicles are regularly serviced

Neither design is universally better. Choose according to the vehicles your workshop services and the manufacturer’s published specifications.

Mobility and Workshop Layout

A trolley jack may be moved between service bays throughout the day. Its wheels, caster arrangement, handle, overall weight and footprint can affect how easily technicians position it.

Consider the following practical questions:

  • Is the workshop floor suitable for moving the jack?
  • Can technicians position it accurately at the intended lifting point?
  • Is there enough room to manoeuvre the handle?
  • Can the jack move around other equipment without obstructing work?
  • Is there a designated storage space when the jack is not in use?

These details matter in busy workshops where equipment is shared across multiple bays.

Hydraulic System and Safety Features

Depending on the model, relevant features may include hydraulic bypass systems, overload protection and controlled lowering mechanisms. Check the product documentation to establish which features are actually provided.

Such features do not replace correct operation, suitable lifting points or appropriate vehicle support. Inspect the jack before use and follow the manufacturer’s maintenance instructions. Hydraulic leaks, structural damage, damaged wheels or malfunctioning controls should be addressed before the equipment is used again.

Important: Lifting a Vehicle Is Not the Same as Supporting It

A hydraulic trolley jack is designed to lift. It should not automatically be treated as the sole support for a vehicle while a technician works underneath it.

Use suitable support equipment and follow the vehicle manufacturer’s approved lifting and support procedure, together with the instructions supplied with the equipment. The US Occupational Safety and Health Administration provides additional guidance on jack capacity, operation, inspection and maintenance in its jack safety standard. This is a US reference, not UAE legislation.

Explore Trolley Jacks for Your Workshop

Texas Equipment offers trolley jack options in different capacities and configurations. Compare the product specifications with your vehicles’ clearance, lifting requirements and available workshop space before selecting a model.

Explore Texas Equipment’s trolley jack and stand range for relevant vehicle-lifting equipment.

You can also review the 3-ton capacity trolley jack product page to inspect the listed details for that specific model. Confirm its specifications against your intended application before purchasing.

Frequently Asked Questions

What capacity trolley jack does a professional garage need?

It depends on the vehicles and lifting applications. Select a jack whose rated capacity is appropriate for the intended load and approved lifting configuration.

Is a low-profile trolley jack better?

It is useful when a vehicle has limited clearance at the approved lifting point. It is not automatically the best option for every workshop.

What matters more: capacity or lifting height?

Both matter. Capacity must suit the intended application, while minimum and maximum heights must match the vehicle and service requirements.

Can a trolley jack support a vehicle while someone works underneath it?

Do not automatically treat the jack as the sole support. Follow the approved vehicle lifting procedure and use suitable support equipment.

What should I measure before buying a trolley jack?

Check clearance at the approved lifting point, required lifting height, available movement and storage space, and the floor conditions in your workshop.

Choose for Fit, Function and Safe Operation

The right hydraulic trolley jack is one that suits the workshop’s vehicles, rated-capacity requirements, lifting range and working environment. A high capacity rating alone is not enough if the jack cannot fit beneath the vehicle or reach the required position.

Compare the published specifications carefully and follow the relevant operating and maintenance instructions. To explore suitable options, visit the Texas Equipment trolley jack and stand category.

Powder Coating Equipment Explained: How the Machine, Booth and Oven Work Together

EQUIPMENT SELECTION GUIDE · UAE WORKSHOPS

Plan a Powder Coating Workflow Before Selecting Equipment

Choosing powder coating equipment is about more than buying a machine. The application unit, booth and curing oven must work together to suit your parts, coating requirements and production target.

If you are planning to bring powder coating work in-house, it is easy to focus on the machine first. The bigger question is how a part will move through the whole job: preparation, coating, overspray control, curing and cooling. If one stage is too small or poorly matched to the others, the setup can slow down production even when each individual machine looks suitable.

Start with the parts you expect to coat and how many you need to finish in a normal shift. That will help you decide whether you need a basic application setup or a more complete workflow with a booth and curing oven. Before comparing prices, check the usable dimensions, utilities, filtration and operating requirements of each component.

Before requesting a quotation: Document your largest workpiece, expected batch volume, coating process, available utilities and workshop layout. These details help determine whether the proposed equipment is suitable for your operation.

What Each Part of a Powder Coating Setup Does

01 · APPLICATION

Powder Application Equipment

The application unit charges and delivers powder so it can adhere to a suitably prepared workpiece. It must suit the coating material, part geometry and operator workflow.

Texas Equipment lists a powder coating machine with a published input of AC 220 V ±10%, 50 Hz and 45 W. Confirm the model documentation and electrical requirements before installation.

View Powder Coating Machine →

02 · CONTAINMENT

Booth, Containment and Filtration

The booth manages overspray and helps maintain a suitable coating area. Its size, airflow, filters, access and cleaning requirements should match the parts and expected workload.

A listed Texas Equipment booth has overall dimensions of 2,500 × 1,800 × 2,000 mm, a 5.5 kW fan and four filters listed as 325 × 900 mm. These figures alone do not establish capture efficiency or suitability for a particular site.

View Powder Coating Booth →

03 · CURING

Curing Oven

The oven provides controlled heat so the coating cures according to the powder manufacturer’s process requirements. The part itself must reach the required metal temperature for the required duration.

A listed Texas Equipment oven has internal dimensions of 3,000 × 1,800 × 1,800 mm, diesel heating and a 3 kW blower. Confirm usable loading dimensions, temperature control, ventilation and installation requirements.

View Powder Coating Oven →

Use the Parts You Coat to Size the System

Start by recording the largest and heaviest parts that will routinely pass through the process. Measure their length, width, height and hanging orientation. A part that fits inside an oven on paper may still be difficult to load, rotate or hang safely.

Allow space for fixtures, trolley movement, door clearance and maintenance access. If the workshop handles small brackets as well as long frames, plan around the largest recurring job rather than the smallest item.

  • Oversized or awkward parts: Confirm loading positions, clearance and safe handling before selecting the oven.
  • Complex shapes: Ask the coating supplier about coverage, Faraday cage effects, hanging points and suitable application techniques.
  • Frequent colour changes: Assess cleaning time, filter access, powder recovery and cross-contamination risks.
  • High production targets: Map loading, spraying, curing, cooling and unloading time. The slowest stage often determines practical output.

Build the Workflow in the Right Order

  1. Prepare the substrate. Identify the required cleaning, degreasing, abrasion or pretreatment process. Oil, corrosion and residue can undermine adhesion and the final finish.
  2. Plan hanging and electrical contact. Fixtures should support the part, provide access to required surfaces and maintain the grounding or contact conditions specified by the equipment manufacturer.
  3. Apply the powder. Follow the documented settings and application technique for the selected powder and workpiece. Follow the equipment and powder safety documentation.
  4. Transfer the part to curing. Handle the coated part carefully to avoid disturbing or contaminating uncured powder. Check that it fits without contacting the oven walls or other components.
  5. Verify cure and finish. Follow the powder manufacturer’s cure schedule and relevant quality checks. Visual appearance alone does not prove that the coating has cured correctly.
  6. Record defects and adjustments. Track recurring issues such as poor coverage, contamination, uneven finish or inconsistent curing. Investigate the likely cause instead of changing settings at random.

What to Prepare Before Requesting a Quote

Give suppliers a consistent set of requirements so you can compare quotations on a like-for-like basis.

Requirement Information to Prepare Why It Matters
Workpiece dimensions Largest part dimensions, weight and hanging method Confirms usable booth and oven capacity
Production mix Part types, batches per shift and colour changes Influences workflow and cleaning time
Utilities Electrical supply, phase, fuel and ventilation constraints Helps prevent equipment and site mismatches
Coating process Powder type, supplier cure schedule and finish requirements Connects application and curing requirements
Safety and approvals Premises layout, fire protection, ventilation and authority requirements Equipment selection does not replace site approval
Serviceability Filter access, spare parts, cleaning and maintenance instructions Helps estimate downtime and operating needs

Common Powder Coating Equipment Buying Mistakes

Buying by Price Before Checking Process Fit

A low initial price does not prove that equipment is suitable for your parts, coating material or production rate. Compare the complete configuration, required accessories, utilities, installation needs and operating limitations. Ask suppliers to identify exclusions so a quotation for one machine is not mistaken for a complete line.

Assuming Oven Dimensions Equal Usable Capacity

Internal dimensions are only one input. Confirm the door opening, trolley or fixture dimensions, loading method, spacing around parts and clearance required for safe handling. The workpiece must also receive the cure required by the powder supplier.

Treating a Product Page as Installation Approval

Product specifications do not establish that a proposed room, exhaust arrangement, electrical installation or fuel setup meets local requirements. Have the actual installation reviewed by qualified professionals and the relevant local authorities.

Overlooking Maintenance and Colour-Change Time

Filter cleaning, booth cleaning, powder changes and routine maintenance affect available production time. If your workshop handles multiple colours or coating types, include these tasks in your workflow and capacity estimate.

Questions to Ask the Supplier

  • What are the documented electrical, fuel, ventilation and installation requirements for each component?
  • What are the usable dimensions and maximum permitted loading conditions?
  • Which consumables, filters, hoses, guns, fixtures or other accessories are included?
  • What maintenance tasks are required, and which spare parts should be kept on hand?
  • Can the supplier review the part mix and workflow before the configuration is finalised?
  • Which quotation details are confirmed specifications, and which require a site assessment?
  • What installation, commissioning, training and after-sales support are included?

Plan Quality Checks Before Production

Define what an acceptable finish means for the customer and coating specification. Depending on the application, checks may include visual coverage, colour consistency, film thickness, adhesion testing or cure verification using a suitable method.

Use the powder manufacturer’s documented cure schedule and relevant product guidance. Avoid assuming that a particular oven air temperature or fixed cycle will be suitable for every powder and workpiece.

For the first production batch, use representative parts, the intended powder and the planned fixtures. Check the application pattern, part hanging, oven loading and documented cure schedule. Keep records of observations and adjustments so the team can identify recurring problems systematically.

Plan Installation and Commissioning Before Purchase Approval

For a UAE installation, plan the booth and oven together with the available floor area, ventilation route, electrical supply and safe movement of parts. Ask the installer to review the intended layout before you commit to the equipment arrangement.

Your information pack should include the largest routine part, target batch volume, powder manufacturer’s process requirements, proposed utility connections, planned room and exhaust arrangement, and the division of responsibility for installation and commissioning. Resolve outstanding assumptions before approving the purchase.

How to Compare Supplier Quotations Fairly

Compare quotations using the same requirements and scope. One quotation may cover only the application machine, while another may include a booth, oven, accessories or installation-related services.

  • Equipment model and documented specifications
  • Usable workpiece and loading dimensions
  • Electrical, fuel and ventilation requirements
  • Included accessories and excluded items
  • Installation and commissioning responsibilities
  • Maintenance requirements and spare-parts availability
  • Warranty terms, training and after-sales support

Ask each supplier to identify assumptions or additional work that could affect the final installed cost. This makes it easier to assess value without relying on the headline price alone.

How to Validate the First Production Batch

Before running customer work at full volume, agree on a commissioning plan with the equipment supplier and coating supplier. Use representative parts, the intended powder and the planned fixtures. Check the application pattern, the way parts are hung, the oven loading plan and the documented cure schedule.

If a defect appears, isolate the likely stage before changing the whole process. Contamination, application, handling and curing can produce different symptoms. Keep records of observations and adjustments so the team can identify recurring problems systematically.

Frequently Asked Questions

Do I need a booth and an oven as well as a powder coating machine?

That depends on the process and existing facilities. Application, overspray control and curing are different functions. A production setup must address all relevant stages, but the correct configuration should be confirmed against the parts, coating process, premises and applicable requirements.

Can I choose an oven based only on its internal dimensions?

No. Also check the door opening, usable loading envelope, fixtures, temperature control, heating source, ventilation, utility needs and the powder manufacturer’s cure schedule.

Does the listed equipment automatically meet UAE approval requirements?

No. Confirm the proposed booth and oven layout, ventilation, fire-safety provisions and electrical or fuel connections with your installer and the relevant site authority before work begins.

How should I estimate production capacity?

Measure the complete cycle: preparation, loading, application, curing, cooling, unloading and cleaning. Do not estimate output from oven size or machine specifications alone.

Start With the Job, Then Plan the System

The most useful powder coating purchase begins with a documented part list, coating process and production target. Compare the application machine, booth and oven as connected stages, verify their specifications, and resolve installation and safety questions before committing to a configuration.

Powder Coating Machine Powder Coating Booth Powder Coating Oven

Request product details or a quotation →

Contact Texas Equipment UAE

Sharjah Showroom
Shop #15 BMW Road, Industrial Area 2, Sharjah, UAE
Phone: +971 6 552 9860
WhatsApp: +971 54 320 1243

Abu Dhabi Musaffah Branch
M9, 6th Street, Musaffah Industrial Area, Abu Dhabi
WhatsApp: +971 50 409 4965

For product details or a quotation, visit the Texas Equipment UAE contact page.